About the Clover Cube Tutorial
I wrote this tutorial mostly as an excuse to mess around with WebGL.
Maria got me the puzzle for my birthday in 2016 and I enjoyed unlocking all of its secrets without a tutorial. Once I realized I had a complete solution method, I thought it’d be cool to publish it in a way similar to the Petrus tutorial for the rubiks’ cube. That method uses embedded java applets, but because I program in Java a lot, I wanted to try something else. I settled on WebGL via three.js, which is a javascript library.
I didn’t realize I needed step 8 until I was a good part of the way through writing this tutorial. Everytime I played with the thing, the faceplates of my center pieces would pop off and I’d have to guess about which way to put them back on. So whenver I got to step 8, I assumed it was just an illegal position, and physically removed and rotated the center’s faceplate. Eventually I realized it was a legitimate position.
How It Was Made
I started by making a model in blender. I had no previous experience with that tool, so it took some getting used to. The blender stack exchange was helpful, as were a handful of tutorials I found online (and have since lost, so I unfortunately can’t give the authors credit).
I spent a little time thinking of how I could possible model each piece, but it looked painful and I didn’t think I’d be able to get them to line up neatly without a lot of painstaking work.
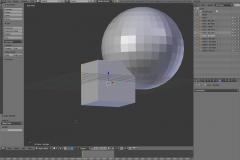
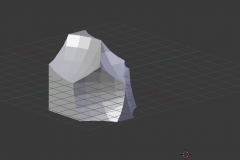
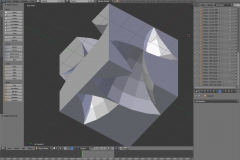
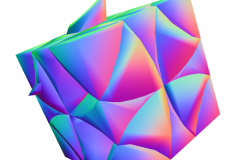
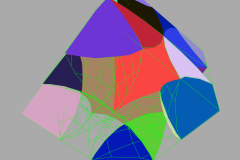
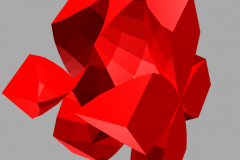
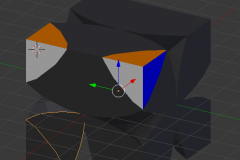
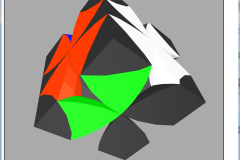
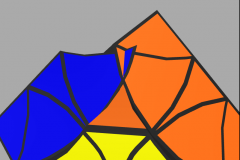
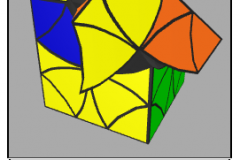
Maria brilliantly pointed out the pieces of the cube could be described as the intersection of a handful of spheres with a cube, and that worked wonderfully. She even did the math for me (interestingly: the radius of the sphere equals the length of the side of the cube). You can see some screenshots below of that process (#1 – #6). If I were doing it all over again, I’d have chosen a slightly higher resolution for spheres (make them more round) and I would have taken advantage of mirroring a bit more. In either case, I got over the finish line in a few nights of messing with blender.
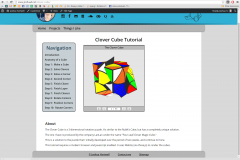
Once I had the basic model, I got it rendering in the browser, and slowly built up the code base. Each piece of the cube is represented by a darker model that is the shape of the piece, and then 1-3 “stickers” (2d models) that sit very close to the piece, but are seperate models. This was necessary to get multiple colors on each block.
I didn’t love working with javascript, but I eventually got the hang of it. The dynamic structure makes it a little easier to code up front (you can build the data structures on an as-needed basis) but it also requires that I remember my interfaces. On the whole, I definitely prefer a statically typed langauge like Java, but this was fun.
Cube Imperfections
The cube I own (and used for the models) has some obvious imperfections: pieces run into each other when they rotate. I imagine using a slightly different radius would allow for smoother rotations, but I haven’t gotten around to calculating the right number.
Source Code
The source code for this project is hosted on my github page, under the GNU GPL v3.











Leave a Reply